How to Make YouTube Videos WITHOUT Showing Your Face + 8 Faceless Video Ideas for Your Channel
You’re excited about the amazing opportunity YouTube can provide when it comes to making a living and having a creative outlet for yourself, but there’s just one problem: You have ZERO interest being on camera. Maybe you’re shy, you don’t like the sound of your voice, or you just like your privacy.
Your concerns are 100% valid.
But, what if you could get all the benefits of YouTube – like taking advantage of the algorithm to rapidly grow your online business – without ever having to show your face in a video? Sounds appealing, right?
Well, that’s exactly what I’m sharing with you today. If you WANT to start a channel, but you’re not ready to be on camera, keep reading.
Just a side note: You might have other reasons you don’t want to be on YouTube, and that’s okay. Just make sure they aren’t excuses your brain is inventing to keep you safe. There’s no great reward without taking a risk.
4 Main Ways to Create Faceless Videos
You’ve decided recording videos for YouTube without using your face could be a possible route. Now it’s time to pick which of the eight video styles will work for you! Within the four main video categories are eight different ideas you could run with.
Screen Recordings
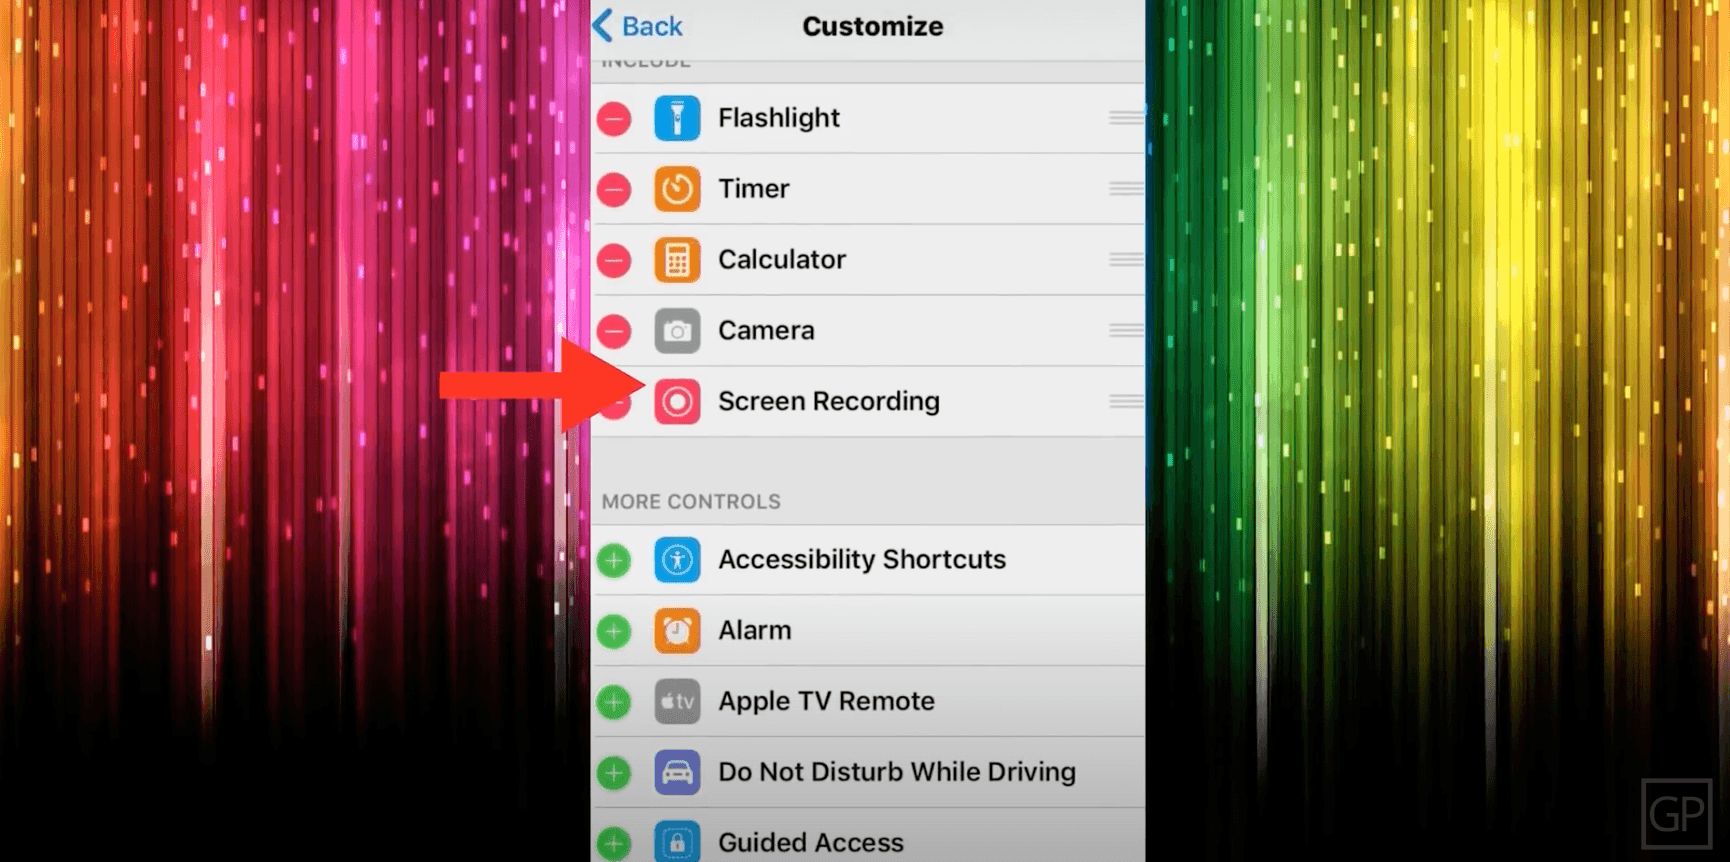
First, you can make videos directly from your computer or phone screen without using any camera footage. Screen recording is commonly used for tech tutorials, teaching tutorials, or anything guiding your viewer through a step-by-step process. This faceless video idea is simple but effective, as the computer screen holds your audience’s attention while you show them how to do something.
Depending on the length and purpose, you can record a VoiceOver while doing the screen recording, or you can record one later.
If you’re guiding them through quick steps, you may want to record the VoiceOver in real time, but if the process you’re showing takes time, you could screen record first and do the VoiceOver later on.
If you’re using your computer, Adobe Captivate is a simple program to begin with. Apple and Android phones should also have a screen recording option already built-in.
Animations
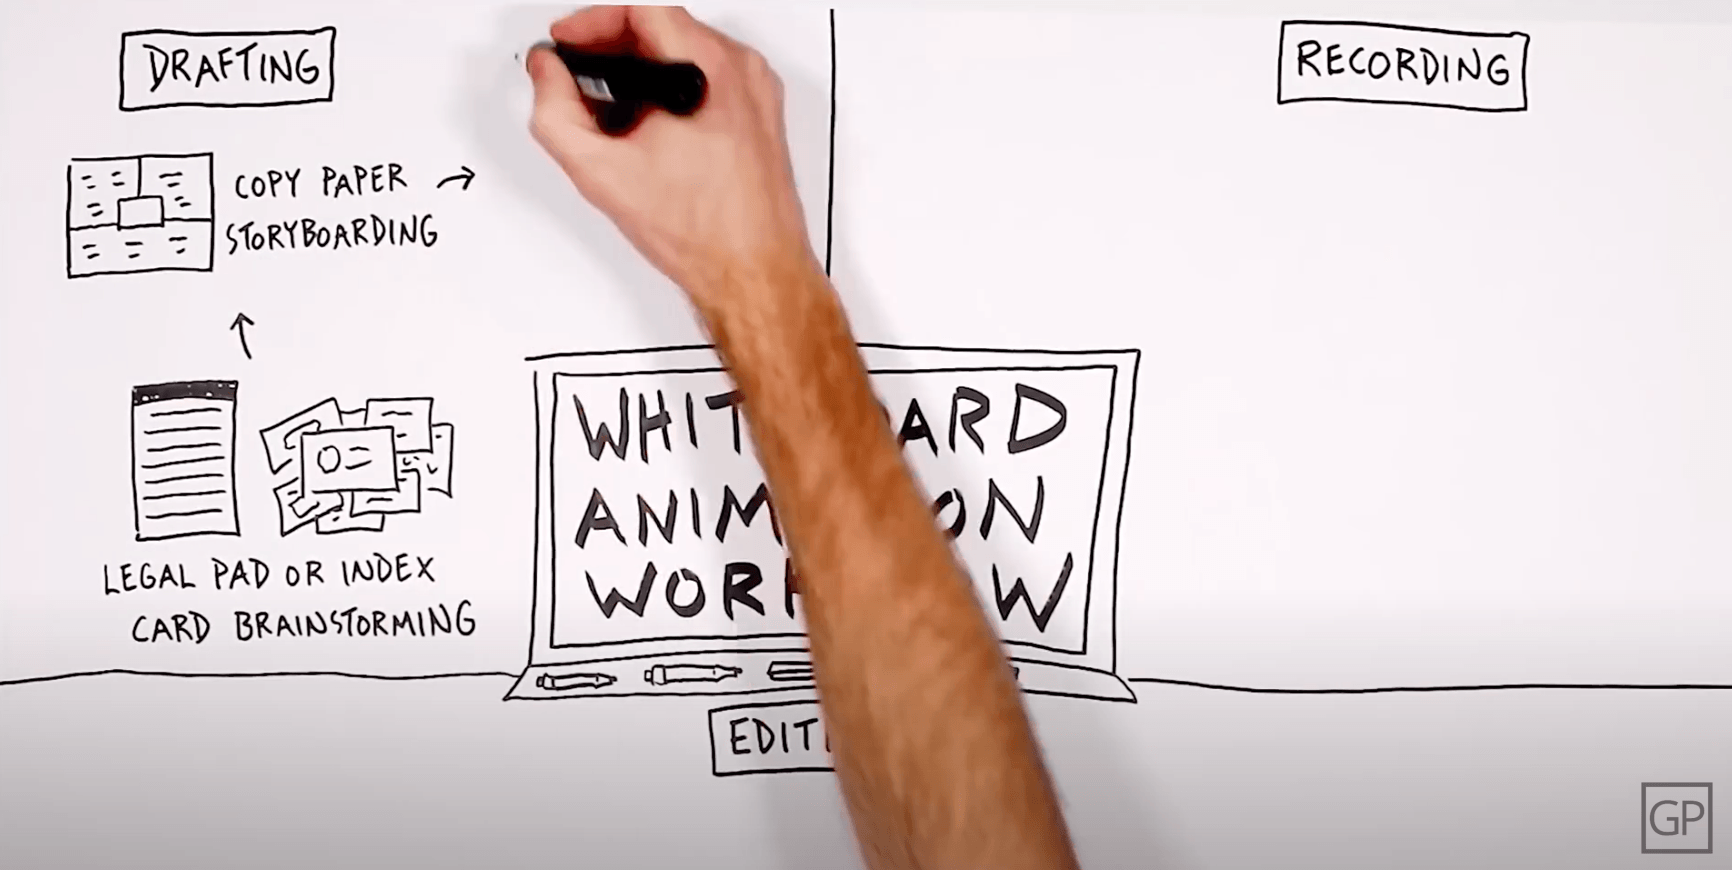
Though animation videos can be complicated and require a good amount of technical skill, there are programs available that make this faceless option more simple (here’s one I like). Some programs will even create animations for you automatically, such as a hand writing on a white board. In this case, the creator chooses images they want the hand to draw and organizes the images on a timeline. From there, the software pops a hand up and speedily draws the specified images at the given timeframes. Cool! Teachers use this type of animation to illustrate points in their educational lessons.
The truth is, animations can be time-consuming, BUT the more time you spend on them, the better quality they will be. Creating these types of videos can be fun AND a great creative outlet.
How about creating animated vlogs or animated short comedies? Some creators depict themselves as an animated character who is doing the talking and entertaining. These video ideas are meant for entertainment purposes and are extremely popular on YouTube.
However, like I mentioned earlier, these types of animations require some technical skill.
If you’re new to animation, just beware it may take you some time and practice to produce quality work.
Stock Footage
Stock footage is video footage that others have already recorded and sell online. You can buy a subscription or purchase individual pieces of video from various online sources. Of the four categories, stock footage is the easiest to create because of its natural simplicity. All you need to do is string a bunch of different pieces of footage together to create your own video. You can use stock footage to create all types of videos, including short films or documentaries.
This technique can be done really well or really poorly – I’ve seen it both ways.
Here are two options to create quality videos using stock footage:
#1 – Inspirational stock videos
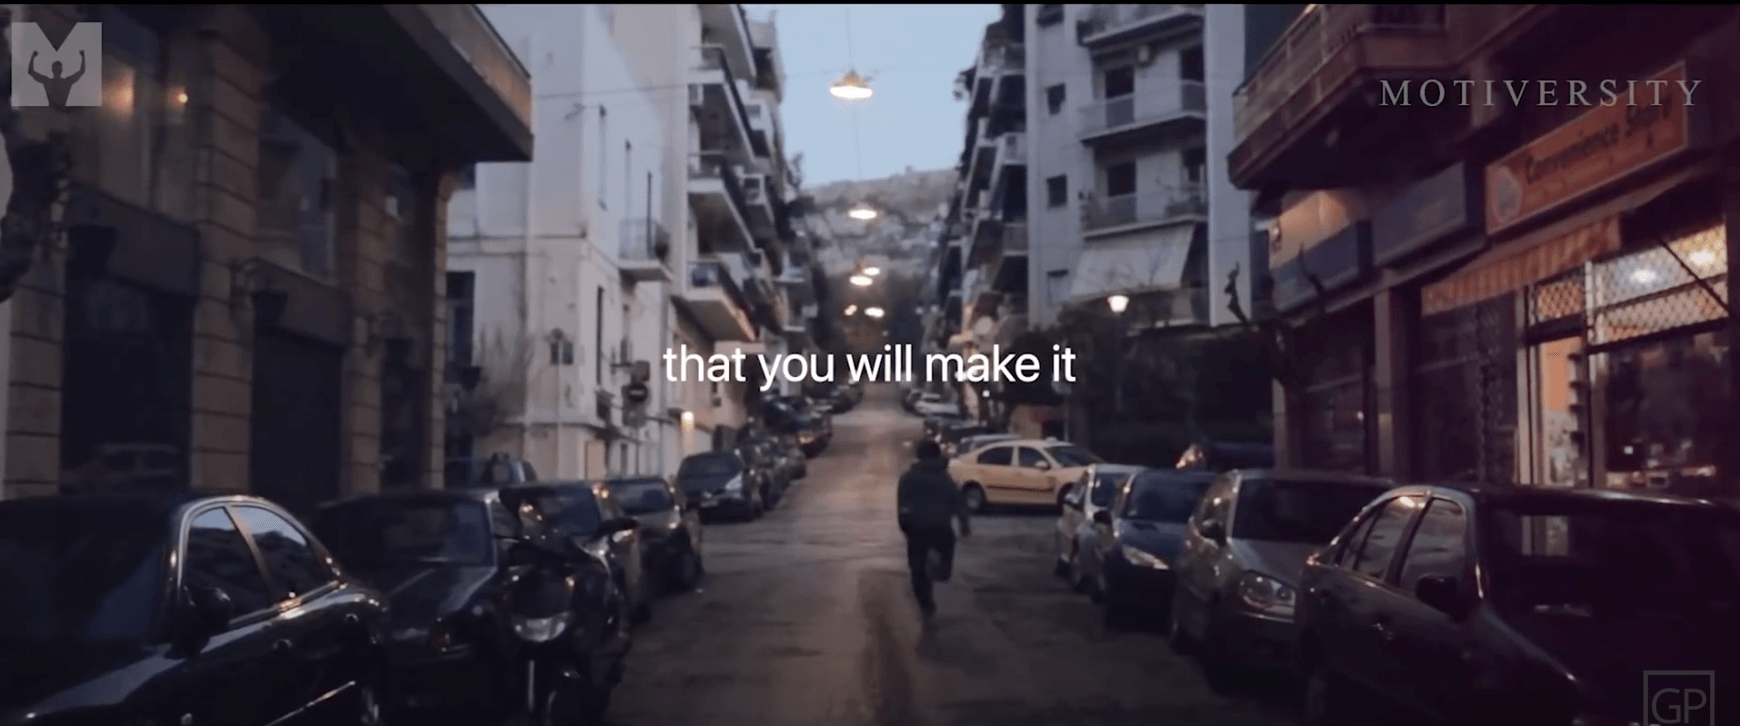
The purpose of these videos is to share a message with your audience that truly moves them, and adding in the stock footage can help illustrate that message and provide powerful visuals. Depending on the story and feel you’re looking to create, you can choose from a variety of generic videos, such as a woman running in the mountains, a crowd of people gathered together, a person writing in a journal, or a child hugging his mom.
From there, you can record a VoiceOver of your message to overlay the video.
#2 – Educational stock videos
Similar to the inspirational video option, you’ll write your lesson out in a clear and concise way, record a VoiceOver of your lesson, and find stock footage about the topic you’re teaching. From there, you can sprinkle the footage you found into your video in a way that illustrates or complements what you’re teaching.
You’ve probably seen videos like this on YouTube already, and that’s because this type of faceless commentary works! It may not be as effective as filming the footage yourself because it’s a bit more generic, but it does the trick. A huge bonus is that you don’t need any camera equipment if you go this route, as you are just repurposing pre-recorded video.
Tutorials or demonstrations
The fourth option is to film a demonstration using your camera, such as cooking, art, or tech tutorials. You can record WHAT you’re physically doing (such as baking a cake), rather than recording you talking about the process. This does require a fair amount of camera equipment, but it’s a great option!
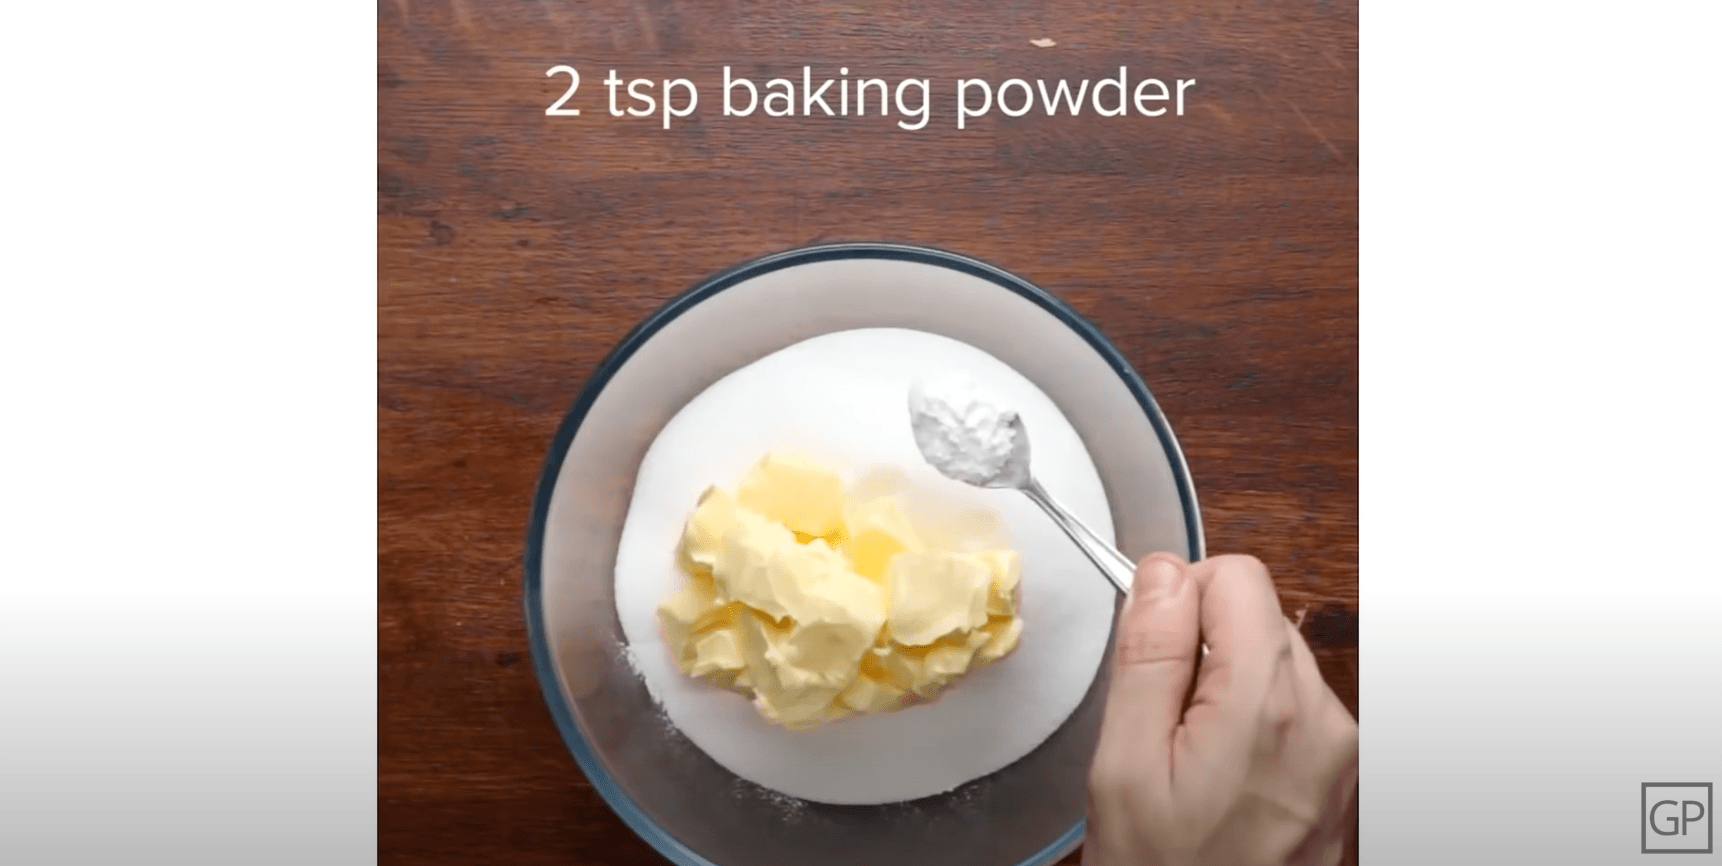
For example, if you are creating a cooking tutorial, it makes sense to use your camera to shoot footage of the actual cooking process rather than of your face. You can do this by doing a top-down shot of you cooking the whole recipe, or you could do close-up shots of each step from different angles.
Top cooking channels on YouTube do this extremely well, and you see the creator’s hands doing the work cooking the food, which gives an overall sense of the recipe in real time.
These types of videos often do well on YouTube because many people are looking for the HOW-TO do something.
If you are passionate about teaching others to bake or teaching fun art projects, then tutorials is definitely a category you should consider.
Show don’t tell
The possibilities are really endless for tutorials and demonstrations! There is usually a HOW-TO instruction you can share in any niche. It’s better to show not tell anyway! SHOW your audience HOW-TO do something rather than telling them. Just as in a motivational speech, you would SHOW your message through story, in a YouTube video, it’s better to SHOW what you’re explaining to your viewers.
Even if you choose to show your face on camera, consider adding in some of these faceless elements to explain your content even better (this could also help with viewer retention!).
Let’s recap the eight types of faceless videos we’ve covered:
Tech tutorials using screen recording
White board animations
Animated vlogs
Animated shorts
Inspirational videos using stock footage
Educational videos using stock footage
Cooking tutorials
Art tutorials
What equipment do I need?
Now that we’ve talked about specific video ideas and categories for your channel, let’s talk about some different types of equipment you might need and the cost.
Microphone
First, for most faceless videos, you’ll need a microphone. I recommend the Rode Procaster Microphone, and it’s around $300. You don’t necessarily need to spend this much on a microphone right away, though. You can definitely use your cell phone to record your audio or use headphones with a built-in microphone. Get started with the gear you already have! In order for your videos to be great quality, you need to make sure your audio is high quality. Initially, you don’t need to spend $300 on a microphone, but it’s an investment to consider in the future.
Camera
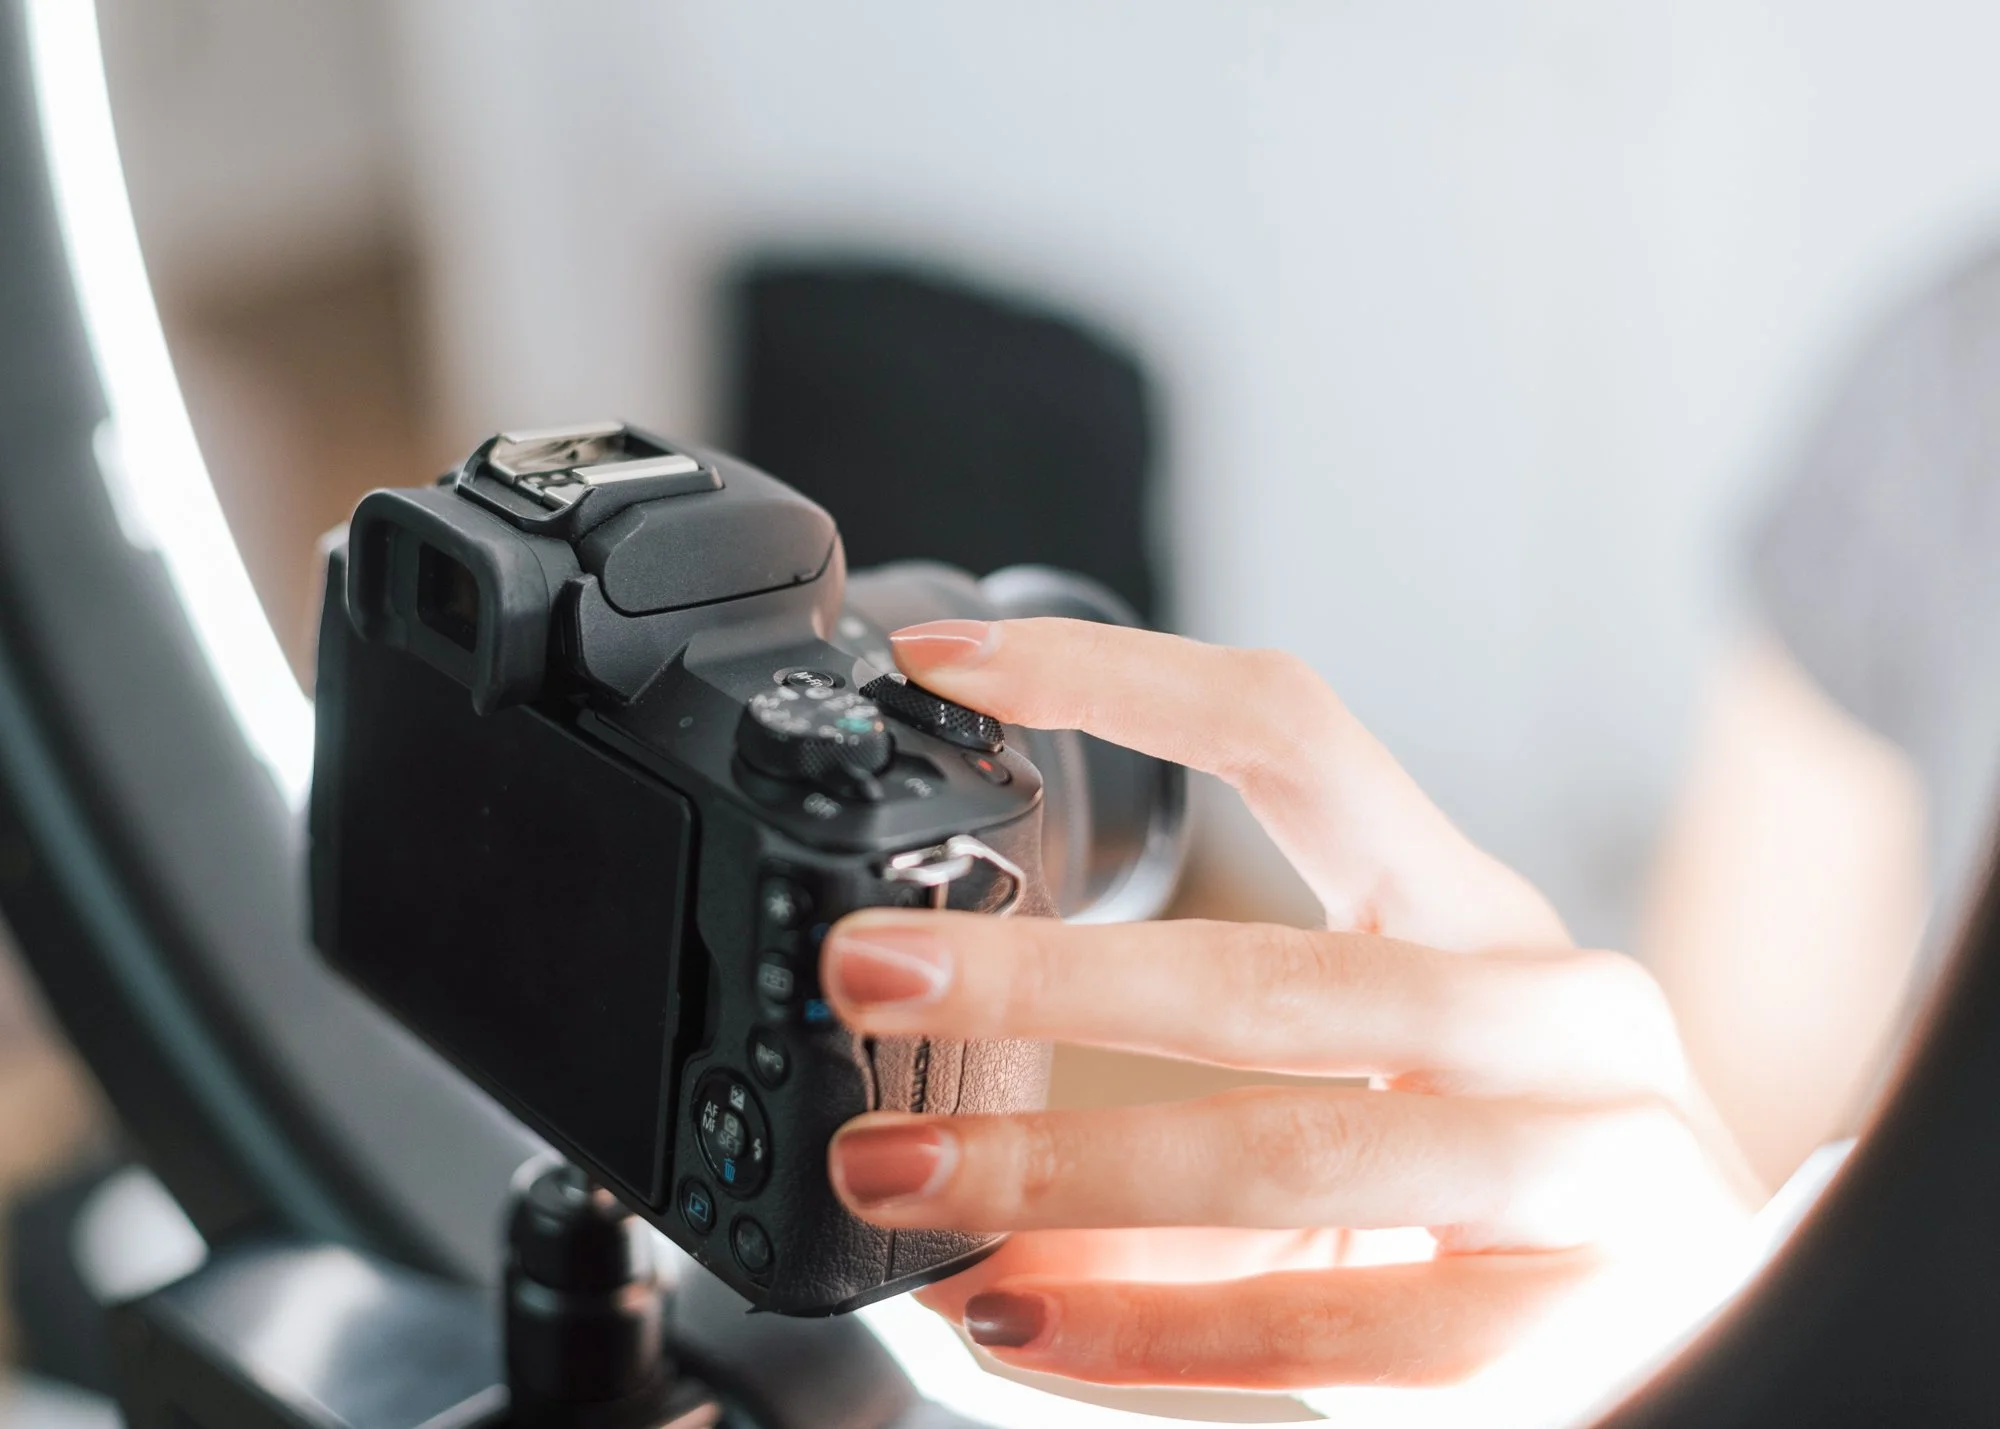
If a camera isn’t in your budget right now, your phone camera will get the job done. Most newer cell phones have quality cameras built in, but if yours doesn’t, you may need to invest in one. You can find a good quality camera for YouTube starting around $600-$700 — here’s my top pick. If you’re spending less than $600, chances are your cell phone will be better quality.
Tripod
If you are using a camera to record the footage for your channel, a tripod is essential – especially if you’re filming tutorials so you can be hands-free. If you want to get those popular top-down shots, a heavy duty tripod is a must.
Animation software
If you decide to go the animated video route, you won’t need to worry about a tripod or a camera. However, you will need software to create animated vlogs, comedic shorts, or white board-style videos.
Editing software
No matter which type of faceless video you decide to try first, you’ll need an editing program. If you’re using a Mac, the free version of iMovie works just fine to get you started. If you’re on a PC, you can check out Lightworks and Shotcut for free editing options.
If you don’t mind paying for a monthly subscription, my personal favorite editing software is Adobe Premiere Pro. It’s heavy duty and has all the features you could ever need – or want! If you are just starting out, I recommend beginning with a simple software to get the job done. You don’t want to overwhelm yourself with too many features, and you can always upgrade when you’re ready.
Now you know EXACTLY how to make faceless videos, and I know you have a bunch of video ideas swirling in your head! So… if the thing holding you back from starting your YouTube channel was that you didn’t want to be on camera… well, now you have NO EXCUSES. I am expecting to see some videos from you in the very near future!
Once you start making videos, your first goal should be reaching 1,000 subscribers to get your channel monetized. I have a free workshop that will teach you 3 secrets on how to do just that in as little as 3 months. CLICK HERE to find an available time to join the workshop that works for you. Hope to see you there!
3 Secrets to Reach 1,000 Subscribers and Get Monetized in Just 3 Months
Do you want to learn more about how to reach 1,000 subscribers and get monetized?
Join me in my free YouTube training where I walk you through the most important factor for racking up watch hours as quickly as possible and how to maximize every view that finds your channel.

